
Introduction
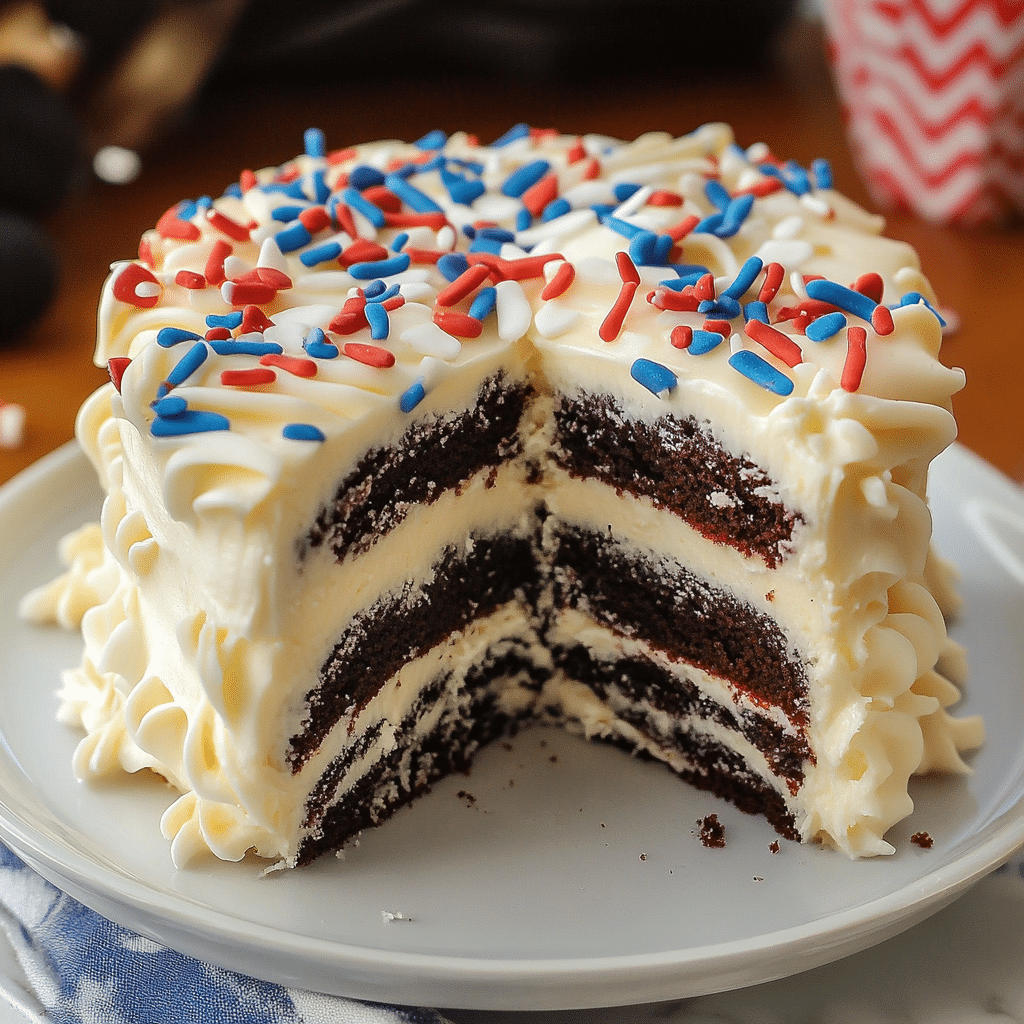
Zebra Cake is a visually stunning and delicious dessert that combines the best of both chocolate and vanilla flavors. Its signature “zebra stripes” make it a unique treat for anyone who loves both a rich, chocolatey taste and the light, creamy flavor of vanilla. Perfect for birthdays, parties, or a simple family gathering, this cake is as easy to make as it is beautiful. With its rich, moist texture and bold flavor contrast, Zebra Cake is sure to impress.
The cake’s simplicity, yet elegant appearance, makes it a crowd-pleaser. Whether you are a baking novice or an experienced baker, this cake is straightforward to make and doesn’t require fancy equipment or ingredients. The use of alternating layers of chocolate and vanilla batter creates a stunning visual effect, which is what makes this cake so special.
In this article, we’ll dive into why you’ll love Zebra Cake, provide step-by-step instructions on how to make it, and give you some helpful tips to ensure your cake turns out perfectly every time. Whether you’re a cake enthusiast or just looking to try something new, Zebra Cake is an irresistible option that will soon become a favorite in your recipe collection.
Why You’ll Love This Recipe
- Visually Striking: The contrast of the dark chocolate and light vanilla layers creates a beautiful zebra-like pattern that makes the cake look as amazing as it tastes.
- Two Flavors in One: Zebra Cake combines the flavors of chocolate and vanilla, giving you the best of both worlds in every bite.
- Moist and Fluffy Texture: Thanks to the use of simple ingredients, this cake has a wonderfully soft and moist texture that pairs perfectly with its light frosting.
- Easy to Make: You don’t need any special baking skills to make this cake. With the right technique, you can make a picture-perfect Zebra Cake with ease.
- Perfect for Any Occasion: Whether you’re celebrating a birthday, hosting a family get-together, or simply craving a delicious dessert, Zebra Cake is the perfect treat.
Preparation Time and Servings
- Total Time: 1 hour 30 minutes (20 minutes for prep, 30 minutes for baking, 40 minutes for cooling and decorating)
- Servings: This recipe makes about 12 servings, depending on the size of each slice.
- Nutrition Facts (per serving): Calories: 350, Protein: 4g, Carbs: 55g, Fat: 15g.
Ingredients
For the Cake:
- 2 cups all-purpose flour: The base for the cake. All-purpose flour helps create the ideal structure for the cake.
- 2 teaspoons baking powder: To give the cake a light and fluffy texture.
- ½ teaspoon salt: A pinch of salt enhances the sweetness and flavor of the cake.
- 1 cup sugar: For sweetness and a slight golden color when baked.
- ½ cup unsalted butter: Softened, for moisture and richness in the cake.
- 3 large eggs: To help bind the ingredients together and provide structure.
- 1 cup whole milk: For moisture and to create a smooth batter.
- 1 teaspoon vanilla extract: To add depth and flavor to the cake.
- 3 tablespoons cocoa powder: Unsweetened cocoa powder for the chocolate flavor in the cake.
- ½ cup hot water: To help dissolve the cocoa powder and create the desired consistency.
For the Frosting:
- 1 cup heavy cream: To make the frosting rich and smooth.
- 1 cup powdered sugar: For sweetness and to help the frosting thicken.
- 1 teaspoon vanilla extract: To add flavor to the frosting.
- Optional Chocolate Shavings or Sprinkles: For added decoration.
Step-by-Step Preparation
FIRST STEP: PREPARE THE CAKE BATTER
- Preheat Your Oven: Start by preheating your oven to 350°F (175°C). Grease and flour two 8-inch round cake pans, ensuring that they are ready for the batter.
- Mix Dry Ingredients: In a medium bowl, whisk together the flour, baking powder, and salt. Set aside for later.
- Cream the Butter and Sugar: In a large mixing bowl, cream the softened butter and sugar together using an electric mixer on medium speed. Beat until the mixture becomes light and fluffy, which should take about 3-4 minutes.
- Add the Eggs: Add the eggs one at a time, mixing well after each addition. This ensures that the eggs are fully incorporated into the batter.
- Add the Wet Ingredients: With the mixer on low speed, slowly add the milk and vanilla extract to the mixture. Mix until smooth.
- Combine Dry and Wet Ingredients: Gradually add the dry ingredients to the wet mixture, stirring until just combined. Be careful not to overmix, as this can make the cake dense.
SECOND STEP: DIVIDE THE BATTER
- Separate the Batter: Divide the cake batter into two equal portions. One portion will stay as a vanilla batter, and the other will be turned into a chocolate batter.
- Make the Chocolate Batter: In a small bowl, mix the cocoa powder and hot water to form a smooth paste. Add this cocoa paste to one portion of the batter and stir until evenly mixed. This will give you a rich chocolate flavor.
THIRD STEP: ASSEMBLE THE CAKE LAYERS
- Layering the Batter: For the signature zebra stripes, spoon about 2 tablespoons of the vanilla batter into the center of each cake pan. Then, spoon 2 tablespoons of the chocolate batter directly on top of the vanilla batter. Continue alternating spoonfuls of vanilla and chocolate batter, ensuring the batter is placed in the center each time. The batter will spread out naturally to form the stripes.
- Create the Zebra Effect: Once you have added all the batter, use a skewer or toothpick to gently swirl the batter in a circular motion. This step helps spread the colors slightly but maintains the zebra effect.
- Bake the Cake: Place the pans in the preheated oven and bake for about 30-35 minutes, or until a toothpick inserted into the center of the cakes comes out clean. If necessary, rotate the pans halfway through baking to ensure even cooking.
- Cool the Cakes: After baking, remove the cakes from the oven and let them cool in the pans for 10 minutes. Then, turn them out onto a wire rack to cool completely before frosting.
FOURTH STEP: MAKE THE FROSTING
- Whip the Cream: In a chilled mixing bowl, whip the heavy cream with an electric mixer until stiff peaks form.
- Add Powdered Sugar and Vanilla: Add the powdered sugar and vanilla extract to the whipped cream and continue beating until well combined and the frosting is thick and fluffy.
- Frost the Cake: Once the cakes are completely cooled, spread a layer of the whipped frosting on top of one of the cakes. Place the second cake on top and frost the top and sides of the cake, smoothing the frosting with a spatula for an even finish.
FINAL STEP: DECORATE AND SERVE
- Garnish the Cake: For an extra touch, you can decorate the cake with chocolate shavings, sprinkles, or even a drizzle of melted chocolate over the top.
- Slice and Serve: Once decorated, slice the Zebra Cake into wedges and serve. The beautiful zebra pattern will be revealed with every slice.

How to Serve Zebra Cake
Zebra Cake is a versatile dessert that works well for many occasions. Here are some great serving ideas:
1. As a Celebration Cake
This cake is perfect for birthdays, anniversaries, or any event where you want to make a statement. Its striking appearance is sure to wow your guests, and its delicious flavor will leave them coming back for more.
2. Afternoon Tea or Coffee
Pair a slice of Zebra Cake with a cup of coffee or tea for an afternoon treat. The combination of the cake’s sweetness with a hot beverage makes for a delightful break in your day.
3. Family Gatherings
Zebra Cake is great for family gatherings, as it’s easy to make and can be enjoyed by both adults and children alike. The contrasting flavors of chocolate and vanilla make it a universal favorite.
4. Simple Dessert for Dinner
After a casual family dinner, Zebra Cake is a wonderful dessert to end the meal. Its light and airy texture balance the richness of a savory dinner.
Additional Tips
- Make-Ahead: You can make the cake ahead of time by preparing and baking the cake layers in advance. Once cooled, wrap the cakes in plastic wrap and store them in the fridge for up to 2 days before frosting and serving.
- Freezing: You can freeze the individual layers of the cake, tightly wrapped in plastic wrap and foil. When ready to serve, thaw them at room temperature and then frost as usual.
- Flavor Variations: You can experiment with different flavorings. For example, add a teaspoon of almond extract to the vanilla batter for a twist or incorporate orange zest for a citrusy flavor.
- Egg-Free Version: If you need to make the cake egg-free, you can replace the eggs with flaxseed meal or chia seeds mixed with water as a binding agent.
Recipe Variations
While the classic Zebra Cake is fantastic as written, you can customize it to suit different tastes:
1. Add a Cream Cheese Filling
For a richer version, add a layer of sweetened cream cheese filling in the middle of the cake. This adds another layer of flavor and texture.
2. Experiment with Different Frostings
While whipped cream frosting is light and perfect for this cake, you could also try a chocolate ganache frosting or a buttercream frosting for a different taste and texture.
3. Make It Gluten-Free
For a gluten-free version, use a gluten-free flour blend in place of the all-purpose flour. Just make sure the other ingredients are also gluten-free.
Freezing and Storage
Zebra Cake can be stored in an airtight container at room temperature for up to 3 days. If you need to keep it for a longer period, refrigerate it for up to a week or freeze it for up to 3 months. When frozen, make sure the cake is tightly wrapped to avoid freezer burn. Thaw the cake in the refrigerator overnight before serving.
Special Equipment
While you don’t need any specialized tools, here are a few items that might help streamline the process:
- Electric Mixer: For easily mixing the batter and frosting.
- Cake Pans: Two 8-inch round cake pans work perfectly for this recipe.
- Spatula: For spreading the frosting smoothly.
- Wire Rack: For cooling the cakes evenly.
Frequently Asked Questions
1. Can I make Zebra Cake without cocoa powder?
Yes! If you prefer a completely vanilla Zebra Cake, simply omit the cocoa powder and substitute it with extra vanilla extract.
2. How can I make my Zebra Cake more moist?
To ensure the cake stays moist, don’t overmix the batter, and make sure to use full-fat ingredients like whole milk and butter. Additionally, avoid overbaking the cake.
3. Can I use a different type of frosting?
Yes, you can use any frosting you prefer. A buttercream or cream cheese frosting would work well if you’re looking for a richer taste.
4. How can I get the zebra pattern to look perfect?
To get the best zebra pattern, make sure to place the batter in the center of each layer and alternate between the chocolate and vanilla batter. Don’t swirl too much, as this will blend the two colors together.
Conclusion
Zebra Cake is a fun and flavorful dessert that’s perfect for a wide range of occasions. Its visually striking design and delicious flavor make it a standout treat that will wow guests every time. Whether you’re a beginner baker or a seasoned pro, this cake is sure to become a favorite in your baking repertoire. Enjoy creating your own Zebra Cake, and don’t forget to share your beautiful creations with friends and family!