

Introduction
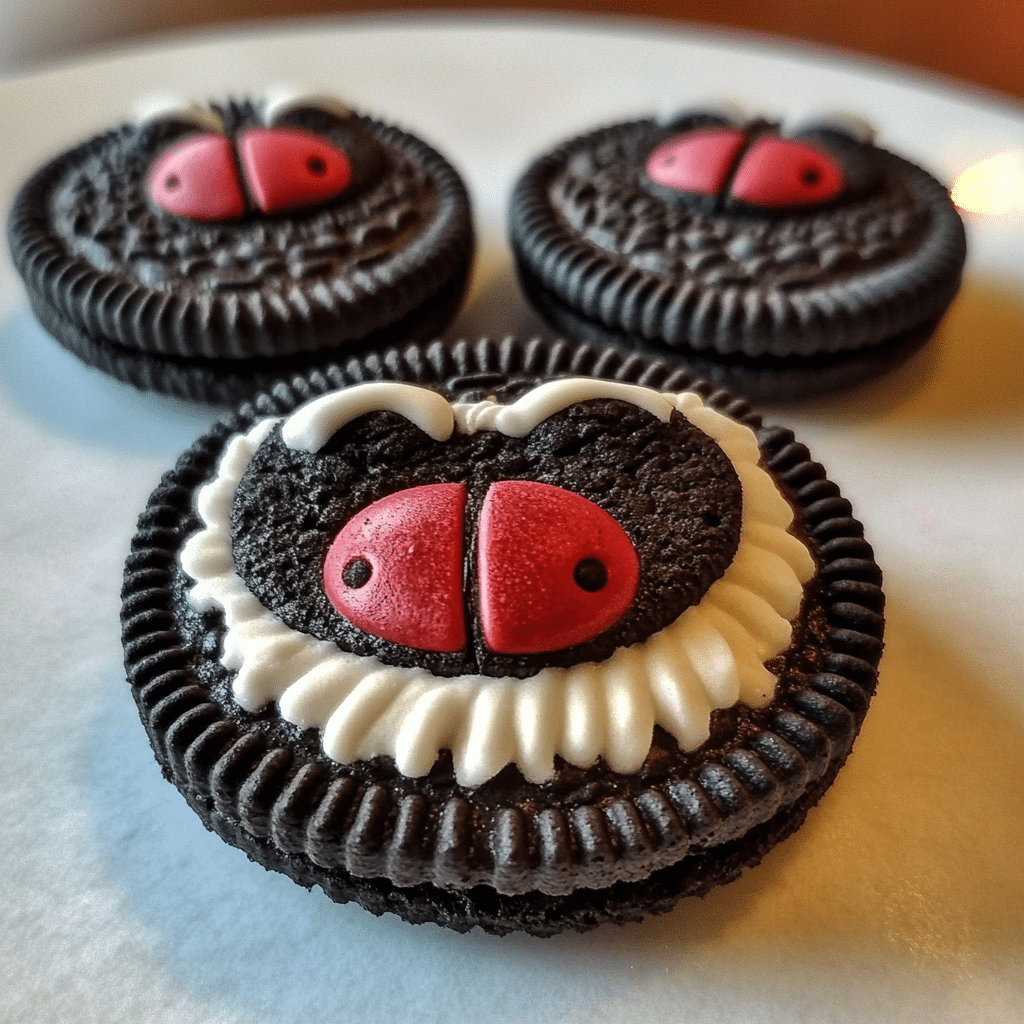
Love Bug Oreo Cookies are the ultimate treat for any occasion, especially when you’re looking to make something fun, cute, and indulgent! These cookies take the classic Oreo and turn it into an adorable and delicious creation. Decorated with candy eyes and vibrant red frosting, these Love Bug Oreo Cookies are perfect for a themed party, holiday treats, or just a playful snack to brighten up your day. The combination of rich chocolate, creamy filling, and colorful decoration will make these cookies a hit with both kids and adults alike.
Whether you’re baking for a special occasion like Valentine’s Day or just looking for a way to make your ordinary Oreo cookies extraordinary, this recipe is simple, customizable, and guaranteed to bring smiles. So, let’s dive into how you can create these sweet little love bugs!
Perfect for:
- Valentine’s Day celebrations
- Kids’ parties or school events
- Family gatherings
- Gift-giving for loved ones
- Fun snack time with a creative twist
Why You’ll Love This Love Bug Oreo Cookies Recipe
Here’s why Love Bug Oreo Cookies are sure to become your go-to recipe for fun, festive desserts:
- Fun and Creative: These cookies are decorated to look like adorable little love bugs, making them a fun treat for all ages.
- Super Easy: You don’t need to be an expert baker to create these cute cookies. With just a few ingredients, you can assemble them quickly and effortlessly.
- Versatile: Whether you want to make them for a themed event, or just want a fun twist on the classic Oreo, these cookies fit the bill.
- Customizable: You can change the colors and decorations to match the theme of your event or personal taste.
- Family-Friendly: Kids will love the hands-on aspect of assembling and decorating these cookies with you.
Preparation and Cooking Time
- Total Time: 40 minutes
- Preparation Time: 20 minutes
- Decoration Time: 15 minutes
- Servings: 12-16 cookies (depending on size)
- Calories per Serving: Approximately 150-200 calories per cookie
- Key Nutrients: Protein: 2g, Carbs: 20g, Fat: 10g
Ingredients
Here’s what you’ll need to make these adorable and tasty Love Bug Oreo Cookies:
- 1 package of Oreo cookies (regular or double-stuffed)
- ½ cup red candy melts or red chocolate chips (for coating)
- 2 tablespoons vegetable oil (for thinning the candy melts)
- ¼ cup black candy melts or black chocolate chips (for eyes)
- 24 candy eyes (you can find these at most craft stores or online)
- 1 tablespoon red icing (for the “mouth”)
- 12 mini pretzel sticks (optional, for antennae)
- Pink or red sprinkles (optional, for decoration)
- Parchment paper or wax paper (for easy clean-up)
Ingredient Highlights
- Oreo Cookies: The base of this treat is the ever-popular Oreo cookie, with its perfect chocolatey crunch and creamy filling, making it a well-loved dessert choice for all ages.
- Candy Melts: These are easy to work with and perfect for coating the Oreo cookies. You can substitute them with chocolate chips if preferred, but candy melts provide a smooth, vibrant finish.
- Candy Eyes: A fun, easy way to create the bug eyes on each cookie, making them playful and cute.
- Pretzel Sticks: These make excellent antennae, adding a whimsical touch to the love bug design.
- Red Icing: Adds an extra detail to give the love bugs a sweet little “mouth”!
Step-by-Step Instructions for Love Bug Oreo Cookies
Prepare the Oreo Cookie Base:
- Set Up Your Workspace: Lay a piece of parchment paper or wax paper on your countertop or baking tray for easy cleanup.
- Melt the Red Candy Coating: In a microwave-safe bowl, melt the red candy melts or chocolate chips. Microwave in 20-second intervals, stirring in between, until fully melted and smooth. Add 2 tablespoons of vegetable oil to the melted candy to thin it out, making it easier to coat the cookies.
- Coat the Oreo Cookies: Using a fork or dipping tool, gently dip each Oreo cookie into the melted red candy coating. Swirl to coat the entire cookie, ensuring that it’s evenly covered. Let any excess candy drip off before placing the cookie onto the parchment paper to set. Allow the coating to firm up at room temperature for about 10-15 minutes.
Decorate the Love Bug Cookies:
- Prepare the Eyes: While the red coating is setting, melt the black candy melts or chocolate chips in the same manner as the red coating. Once melted, use a toothpick or small spoon to place two small dots of black candy in the center of each Oreo cookie to form the bug’s eyes.
- Attach the Candy Eyes: Press the candy eyes gently onto the black dots while the candy is still slightly warm. Make sure they’re centered on the cookie for the perfect love bug look.
- Add the Antennae (Optional): If you’d like to add antennae to your love bugs, break the mini pretzel sticks in half and insert them into the top of each cookie, gently pressing them into the candy coating. Let them set for a few minutes to secure the antennae in place.
- Add the “Mouth”: Using a small amount of red icing, pipe a little “smile” shape or curved line beneath the candy eyes for a playful touch.
- Add Finishing Touches: If desired, you can sprinkle a little pink or red sprinkles on top of the red candy coating for an extra festive look.
Let the Love Bug Oreo Cookies Set:
- Allow to Cool: Let the cookies sit at room temperature for another 10-15 minutes or until the candy coating is completely hardened. This ensures that everything stays in place when you serve them.
Serve and Enjoy:
- Serve: Once the cookies are fully set and the decorations are secure, they’re ready to be served! Place them on a platter or store them in an airtight container to keep them fresh.
How to Serve Love Bug Oreo Cookies
Love Bug Oreo Cookies are versatile and can be served in many fun and creative ways:
- For Parties: Serve these cookies as part of a themed dessert table or hand them out as cute party favors for guests to enjoy.
- Gift-Giving: Pack these adorable cookies in a cute gift box or jar and give them to friends and family as a sweet surprise.
- Alongside Drinks: Pair these cookies with a glass of milk, hot cocoa, or even iced coffee for the perfect snack.
- At Themed Events: Whether it’s a Valentine’s Day party, a kids’ birthday party, or a family gathering, these cookies are the perfect sweet treat to match the mood.
- For School or Work: These cookies are great for taking to school or work as a fun surprise for classmates or colleagues.
Additional Tips for Love Bug Oreo Cookies
To make sure your Love Bug Oreo Cookies turn out perfectly every time, here are some helpful tips:
- Use High-Quality Candy Melts: If you’re using candy melts, choose high-quality ones that will melt smoothly and have a vibrant color.
- Don’t Rush the Setting Time: Allow enough time for the candy coating to fully set before serving. This will ensure your cookies are easy to handle and stay intact.
- Customize the Decorations: You can swap out the red candy coating for pink, purple, or any color that fits your event. Try experimenting with different colored sprinkles or edible glitter for extra flair.
- Keep Kids Involved: These cookies are a fun project to do with kids! They’ll love decorating and assembling their own love bugs.
Recipe Variations of Love Bug Oreo Cookies
Here are 10 variations you can try to make your Love Bug Oreo Cookies even more fun and unique:
- Chocolate-Dipped Oreo Bugs: Use dark or milk chocolate instead of red candy coating for a different flavor profile.
- Nutty Love Bugs: Add chopped nuts or crushed pretzels to the coating for added texture.
- Mini Love Bugs: Use mini Oreo cookies or even mini wafer cookies for bite-sized versions of these treats.
- White Chocolate Love Bugs: Swap the red candy coating for white chocolate or vanilla-flavored candy melts for a lighter version.
- Peanut Butter Oreo Bugs: Use peanut butter-filled Oreos instead of regular Oreos for a creamy, nutty twist.
- Rainbow Love Bugs: Use different colored candy melts to create a rainbow of love bug cookies.
- S’mores Love Bugs: Add mini marshmallows and graham cracker crumbs on top of the red coating for a s’mores-inspired version.
- Mint Love Bugs: Use mint-flavored Oreos or mint chocolate coating for a refreshing twist on the classic.
- Caramel Love Bugs: Add a drizzle of caramel sauce over the red coating for a sweet and salty twist.
- Sprinkle Love Bugs: Top with colorful sprinkles or sugar crystals for a festive, sparkly touch.
Freezing and Storage for Love Bug Oreo Cookies
- Freezing: If you have extra cookies or want to make them ahead of time, you can freeze the decorated cookies. Place them on a baking tray in a single layer, freeze for 30 minutes, then transfer them to an airtight container or freezer bag for up to 3 months. To serve, simply thaw at room temperature.
- Storage: Store the cookies in an airtight container at room temperature for up to 5 days. They will stay fresh and delicious, ready for snacking.
Special Equipment for Love Bug Oreo Cookies
Here are some items that will make your Love Bug Oreo Cookies even easier to make:
- Microwave-Safe Bowls: For melting the candy melts and chocolate.
- Toothpicks or Dipping Tools: For easy dipping and handling of the cookies.
- Piping Bag or Ziploc Bag: For piping the red icing for the “mouth.”
- Parchment Paper or Wax Paper: To keep your work surface clean and help the cookies set without sticking.
FAQ Section for Love Bug Oreo Cookies
- Can I use any type of Oreos? Yes, you can use regular Oreos, double-stuffed, or even flavored ones like mint or peanut butter to change the flavor of your cookies.
- Can I make these cookies dairy-free? Yes, you can substitute the candy melts with dairy-free alternatives and use dairy-free Oreos for a completely dairy-free treat.
- How can I make these cookies Halal? These cookies are already Halal as long as the ingredients used (Oreos, candy melts, and chocolate) are Halal-certified. Check for any non-Halal ingredients, like certain colorings, if necessary.
- Can I use store-bought frosting instead of red icing? Yes, store-bought red frosting can work if you prefer to skip the piping step. Just make sure to use a small amount so it doesn’t overwhelm the cookie.
- How can I get the candy coating smooth? Ensure you melt the candy melts slowly and stir them thoroughly to get a smooth, even coating. Adding a bit of vegetable oil helps create the right consistency.
Love Bug Oreo Cookies

- Prep Time: 20minutes
- Total Time: 40minutes
Ingredients
- 1 package of Oreo cookies (regular or double-stuffed)
- ½ cup red candy melts or red chocolate chips (for coating)
- 2 tablespoons vegetable oil (for thinning the candy melts)
- ¼ cup black candy melts or black chocolate chips (for eyes)
- 24 candy eyes (you can find these at most craft stores or online)
- 1 tablespoon red icing (for the “mouth”)
- 12 mini pretzel sticks (optional, for antennae)
- Pink or red sprinkles (optional, for decoration)
- Parchment paper or wax paper (for easy clean-up)
Ingredient Highlights
- Oreo Cookies: The base of this treat is the ever-popular Oreo cookie, with its perfect chocolatey crunch and creamy filling, making it a well-loved dessert choice for all ages.
- Candy Melts: These are easy to work with and perfect for coating the Oreo cookies. You can substitute them with chocolate chips if preferred, but candy melts provide a smooth, vibrant finish.
- Candy Eyes: A fun, easy way to create the bug eyes on each cookie, making them playful and cute.
- Pretzel Sticks: These make excellent antennae, adding a whimsical touch to the love bug design.
- Red Icing: Adds an extra detail to give the love bugs a sweet little “mouth”!
Instructions
Prepare the Oreo Cookie Base:
- Set Up Your Workspace: Lay a piece of parchment paper or wax paper on your countertop or baking tray for easy cleanup.
- Melt the Red Candy Coating: In a microwave-safe bowl, melt the red candy melts or chocolate chips. Microwave in 20-second intervals, stirring in between, until fully melted and smooth. Add 2 tablespoons of vegetable oil to the melted candy to thin it out, making it easier to coat the cookies.
- Coat the Oreo Cookies: Using a fork or dipping tool, gently dip each Oreo cookie into the melted red candy coating. Swirl to coat the entire cookie, ensuring that it’s evenly covered. Let any excess candy drip off before placing the cookie onto the parchment paper to set. Allow the coating to firm up at room temperature for about 10-15 minutes.
Decorate the Love Bug Cookies:
- Prepare the Eyes: While the red coating is setting, melt the black candy melts or chocolate chips in the same manner as the red coating. Once melted, use a toothpick or small spoon to place two small dots of black candy in the center of each Oreo cookie to form the bug’s eyes.
- Attach the Candy Eyes: Press the candy eyes gently onto the black dots while the candy is still slightly warm. Make sure they’re centered on the cookie for the perfect love bug look.
- Add the Antennae (Optional): If you’d like to add antennae to your love bugs, break the mini pretzel sticks in half and insert them into the top of each cookie, gently pressing them into the candy coating. Let them set for a few minutes to secure the antennae in place.
- Add the “Mouth”: Using a small amount of red icing, pipe a little “smile” shape or curved line beneath the candy eyes for a playful touch.
- Add Finishing Touches: If desired, you can sprinkle a little pink or red sprinkles on top of the red candy coating for an extra festive look.
Let the Love Bug Oreo Cookies Set:
- Allow to Cool: Let the cookies sit at room temperature for another 10-15 minutes or until the candy coating is completely hardened. This ensures that everything stays in place when you serve them.
Serve and Enjoy:
- Serve: Once the cookies are fully set and the decorations are secure, they’re ready to be served! Place them on a platter or store them in an airtight container to keep them fresh.
Nutrition
- Serving Size: 16
- Calories: 200
- Fat: 10g
- Carbohydrates: 20g
- Protein: 2g
Conclusion of Love Bug Oreo Cookies
Love Bug Oreo Cookies are a fun, delicious, and creative treat that’s perfect for any occasion. Whether you’re making them for a special event or simply enjoying some quality time with family, these adorable cookies will be a hit! With their vibrant colors, playful bug design, and irresistible Oreo base, they’re sure to bring joy and sweetness to any celebration. So grab your ingredients, get creative, and enjoy making these delightful Love Bug Oreo Cookies!